Getting Started Guide
This guide will walk you through the steps to get started with ToolWorks. We will cover following topics:
- First Look
- Introduction to Asset Items
- Take Action on Items
- AI Copilot
- Add Users
- Add Location
- Add Categories
- Reports
- Maintenance
- Mobile App
- Explore Additional Features
First Look
When you visit ToolWorks for the first time, you will see the following:
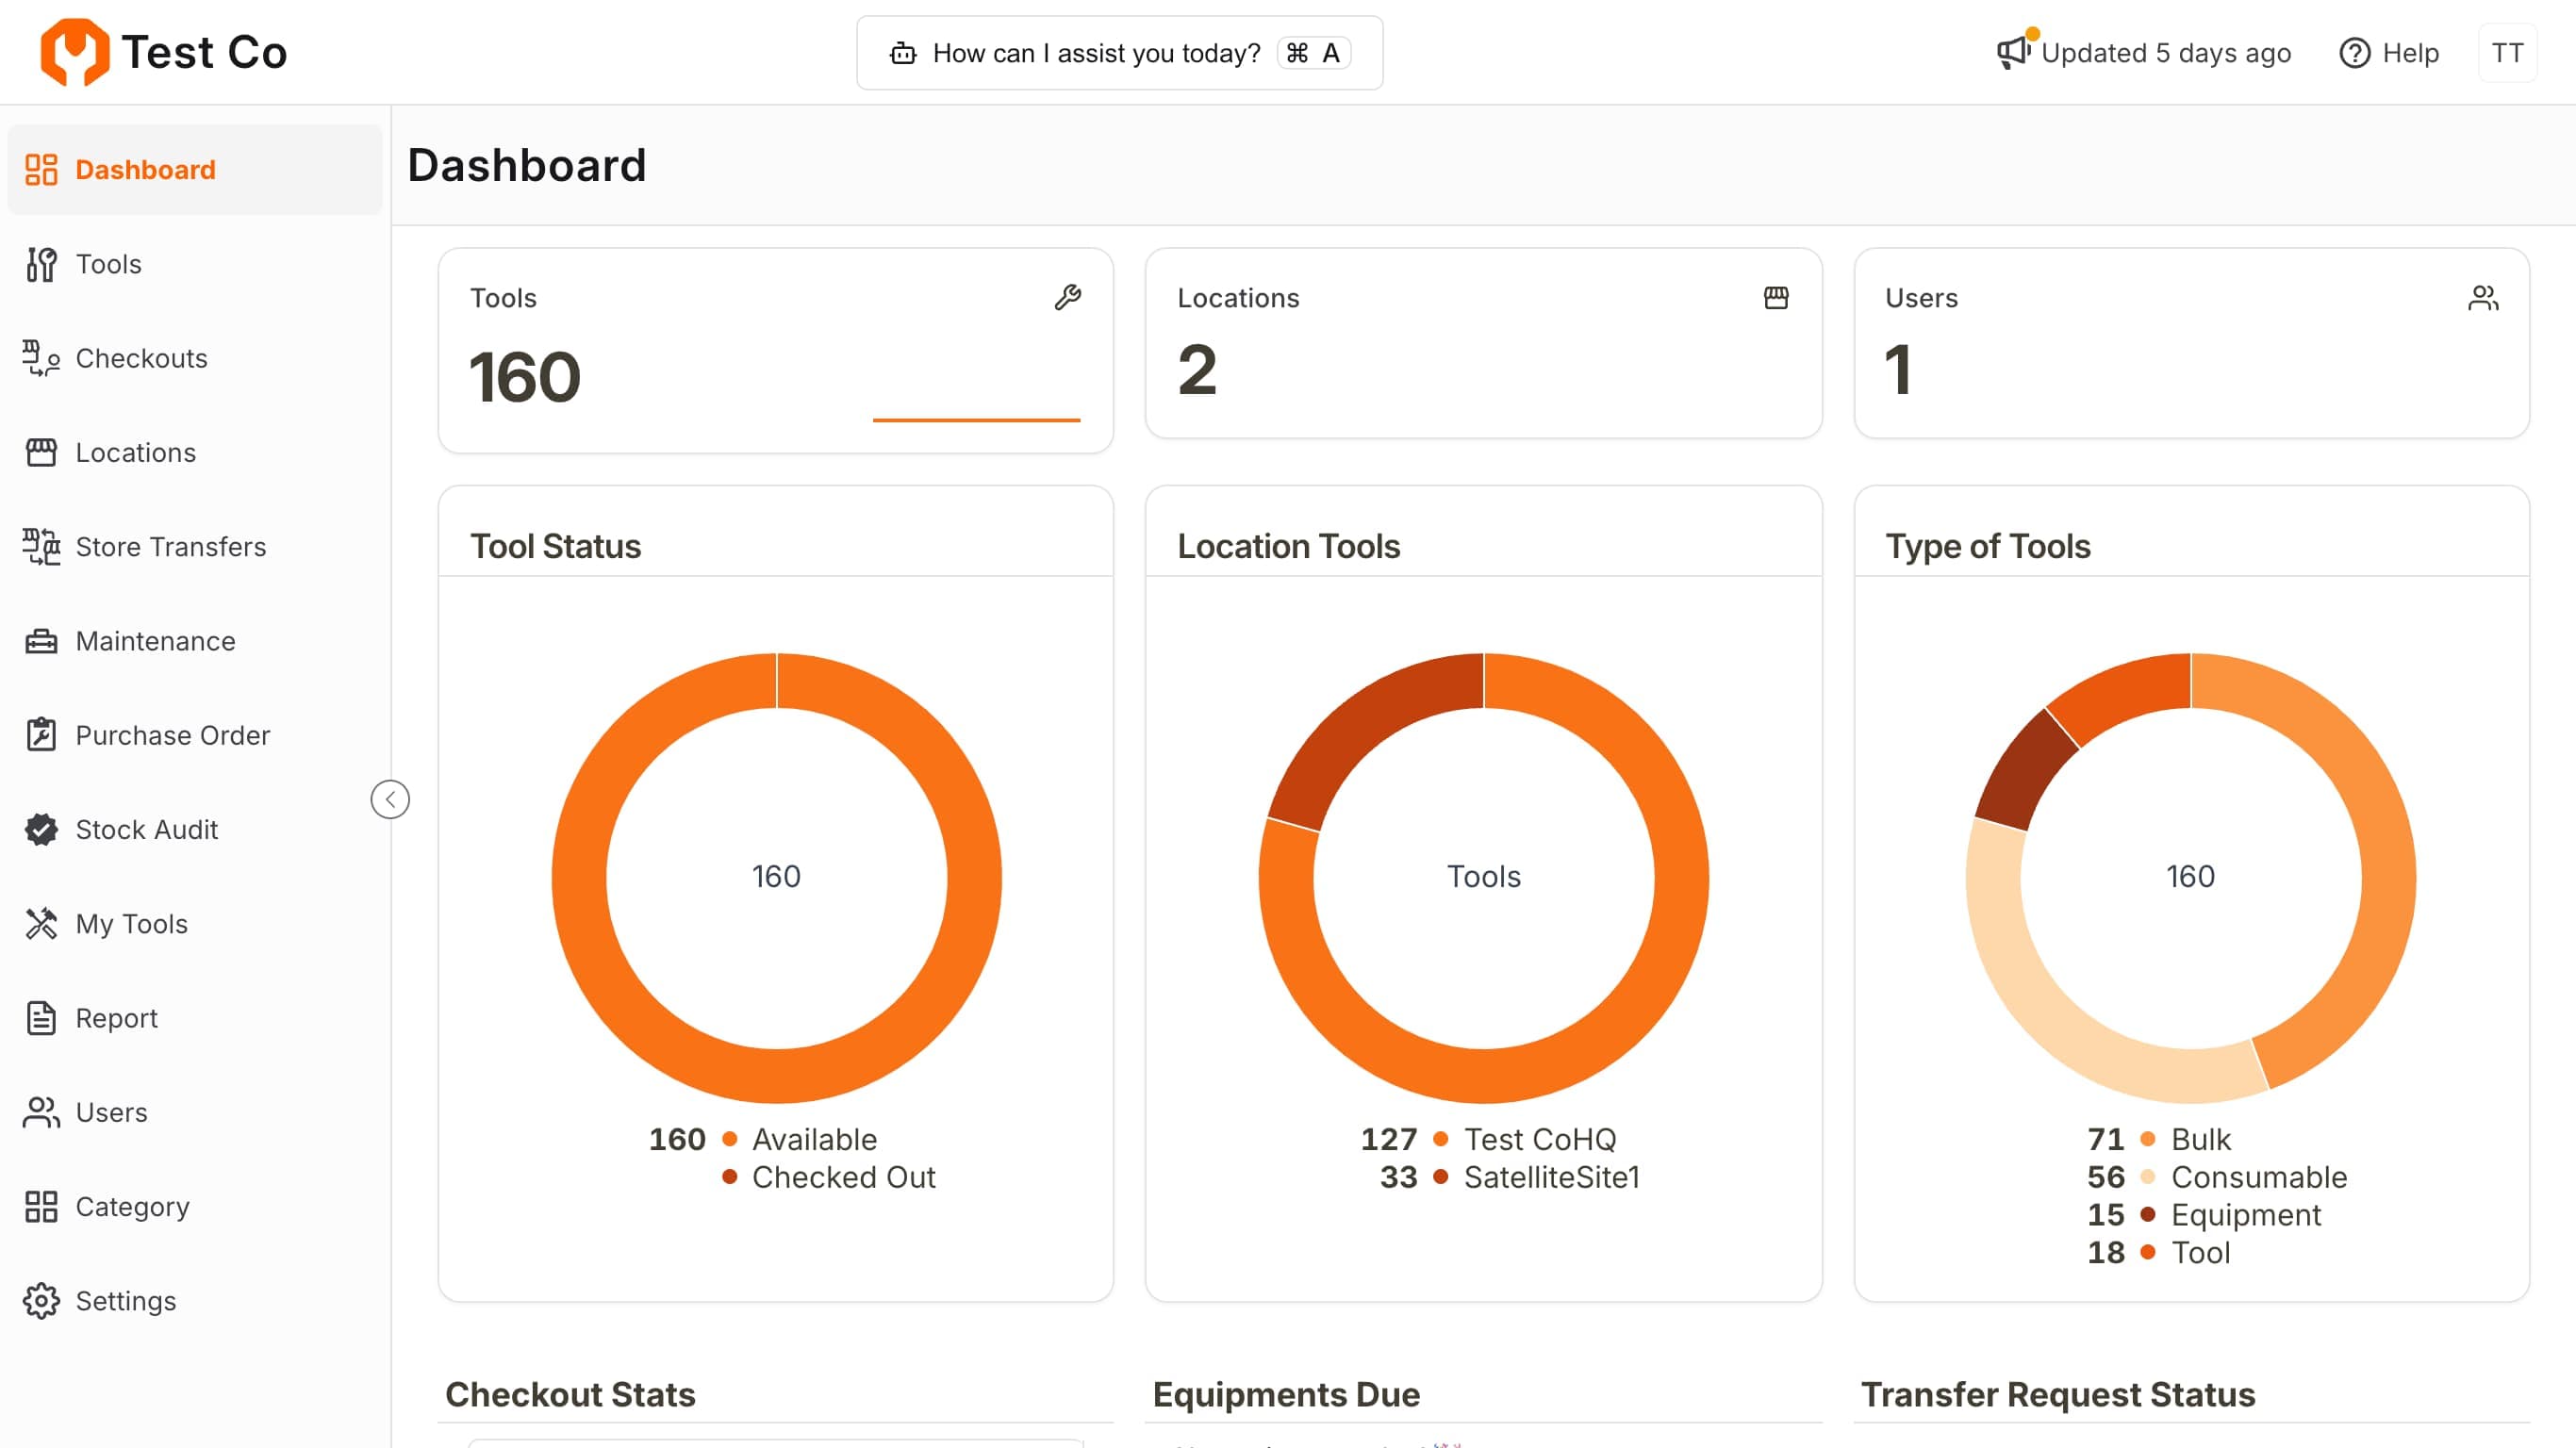
It can be broken down as follows:
- The Top Bar
- The Side Navigation Bar
- The Dashboard
Top Bar

Top Bar is composed of the following:
- Company Logo/Name You can customize Company Name and Logo using the Settings page. (Settings > Account).
- Copilot: Launch AI Copilot from anywhere using [⊞/⌘ + A]
- Updates: See what's new in ToolWorks
- Help: Get Smart Help for any page using [Shift-h]
- Profile: See Your profile details [Shift-Ctrl-p]
Navigation Bar
A convenient way to navigate to all the major modules. Navigation Bar is composed of the following:

Dashboard
Dashboard provides with at-a-glance information regarding stats for Tools, Location, Users. Shows break down on total inventory by Status, Location, and Type. Real-time information for Checkout, equipment due and upcoming maintenance. Timely reminders to restock consumables. And allows you to keep track of your tool inventory with insightful stats and direct links.

Learn More about included Dashboard Widgets
Introduction to Asset Items
Tools are items or assets that you want to track and manage. They can be anything from tools to equipment to consumables. In order to get a comprehensive view of what you own, how they are used and cost of it, you should track all items and supplies, not just a few selected high cost one!
Inventory Types
Inventory of items is classified based on type of asset. There are 4 different types in ToolWorks: Tools, Bulk Items, Consumables, and Equipment.
Tools:
Tools are items that you want to track and manage individually. Each will have its own unique barcode or asset tag. They are usually assigned for long duration, and are required to be returned. Example: Hammer Drill, Miter Saw.
Tools are check out to user, transferred to job site, checked in, maintained, purchased, audited, etc.
Bulk Items:
Bulk items are tools that are tracked in bulk rather than individually. Instead of each item having unique barcode, all items in the group have same barcode or asset tag. They are less valuable than Tools, but you still want them to be returned. Example: Shovels, Chairs
Just like Tools, Bulk Items are checked out to user, transferred to job site, checked in, maintained, purchased, audited, etc.
Consumables:
Consumables or materials(supplies) are items that are consumed over time and permanently removed from the stock count once utilized. Like Bulk items, Consumables are tracked as a group rather than individually, and are not required to be returned. Example: Welding Rods, Water Bottles.
Days consumables are counted towards custodian inventory can be configured in the settings, and defaults to 8 days. Enterprise user can configure this for each consumable by setting field Consumable Days.
Consumables are checked out to user, transferred to job site, purchased, audited, etc.
Equipment:
Equipment are assets that are tracked individually like Tools, but unlike tools (which are given out for long duration), they have a fixed duration for which they are reserved. Example: Forklift, Scissor lift.
When assigning custody of equipment type to a user, a start date and return date are required. While it is common to think of equipment as items that move, you can also think of them as assets that are reserved for a fixed duration, and can be any asset!
Equipment are reserved, transferred to job site, checked in, maintained, purchased, audited, etc.
Adding Tools
Lets add a Tool.
- Navigate to the Tools tab. [shift-t]
- Click the Add Tool button.[ctrl-a] (top-right corner)
- Upload, drag and drop or Snap Photo of tool you want to add, ToolWorks AI Vision will process the photo and generate tool details. Tool details are shown to verify and edit.
- Click Add to save the new tool.
When adding a tool, you only need to enter tool name, barcode. You can optionally enter other details as required, like Inventory Type, Manufacturer, Model, Location, Category etc.
You can also create a Tool Kit to group/bundle related tools together. When adding tool, just set Is Kit to true.
ToolWorks automatically groups tools based on the tool name. This grouping allows you to easily see how many tools of same type are in the inventory.
Need help choosing the right inventory type?
Bulk Upload
Bulk Upload allows you to upload a CSV file with tool details. You can download template file from Tools > Bulk Upload. You only need three pieces of information: Tool Name, Barcode, and Inventory Type. Please check this CSV Field Details to understand the fields and how they are used.
To Upload:
- Navigate to the Tools tab. [shift-t]
- Click
Bulk Uploadand select CSV file to upload or drag and drop the file. - View the parsed file. Once you are satisfied with the data, click
Upload.
Bulk Upload is great way to enter lots of tools and auto generate all the related fields. Upload will auto create Locations, Category/Sub Category and Vendors.
When you receive a shipment containing multiple units of the same tool, you can utilize Bulk Add feature to efficiently create records for each individual item.
Bulk Upload functionality is also available for:
- Location
- Users
- Categories
- Maintenance
- Checkout(assignment)
Take Action on Items
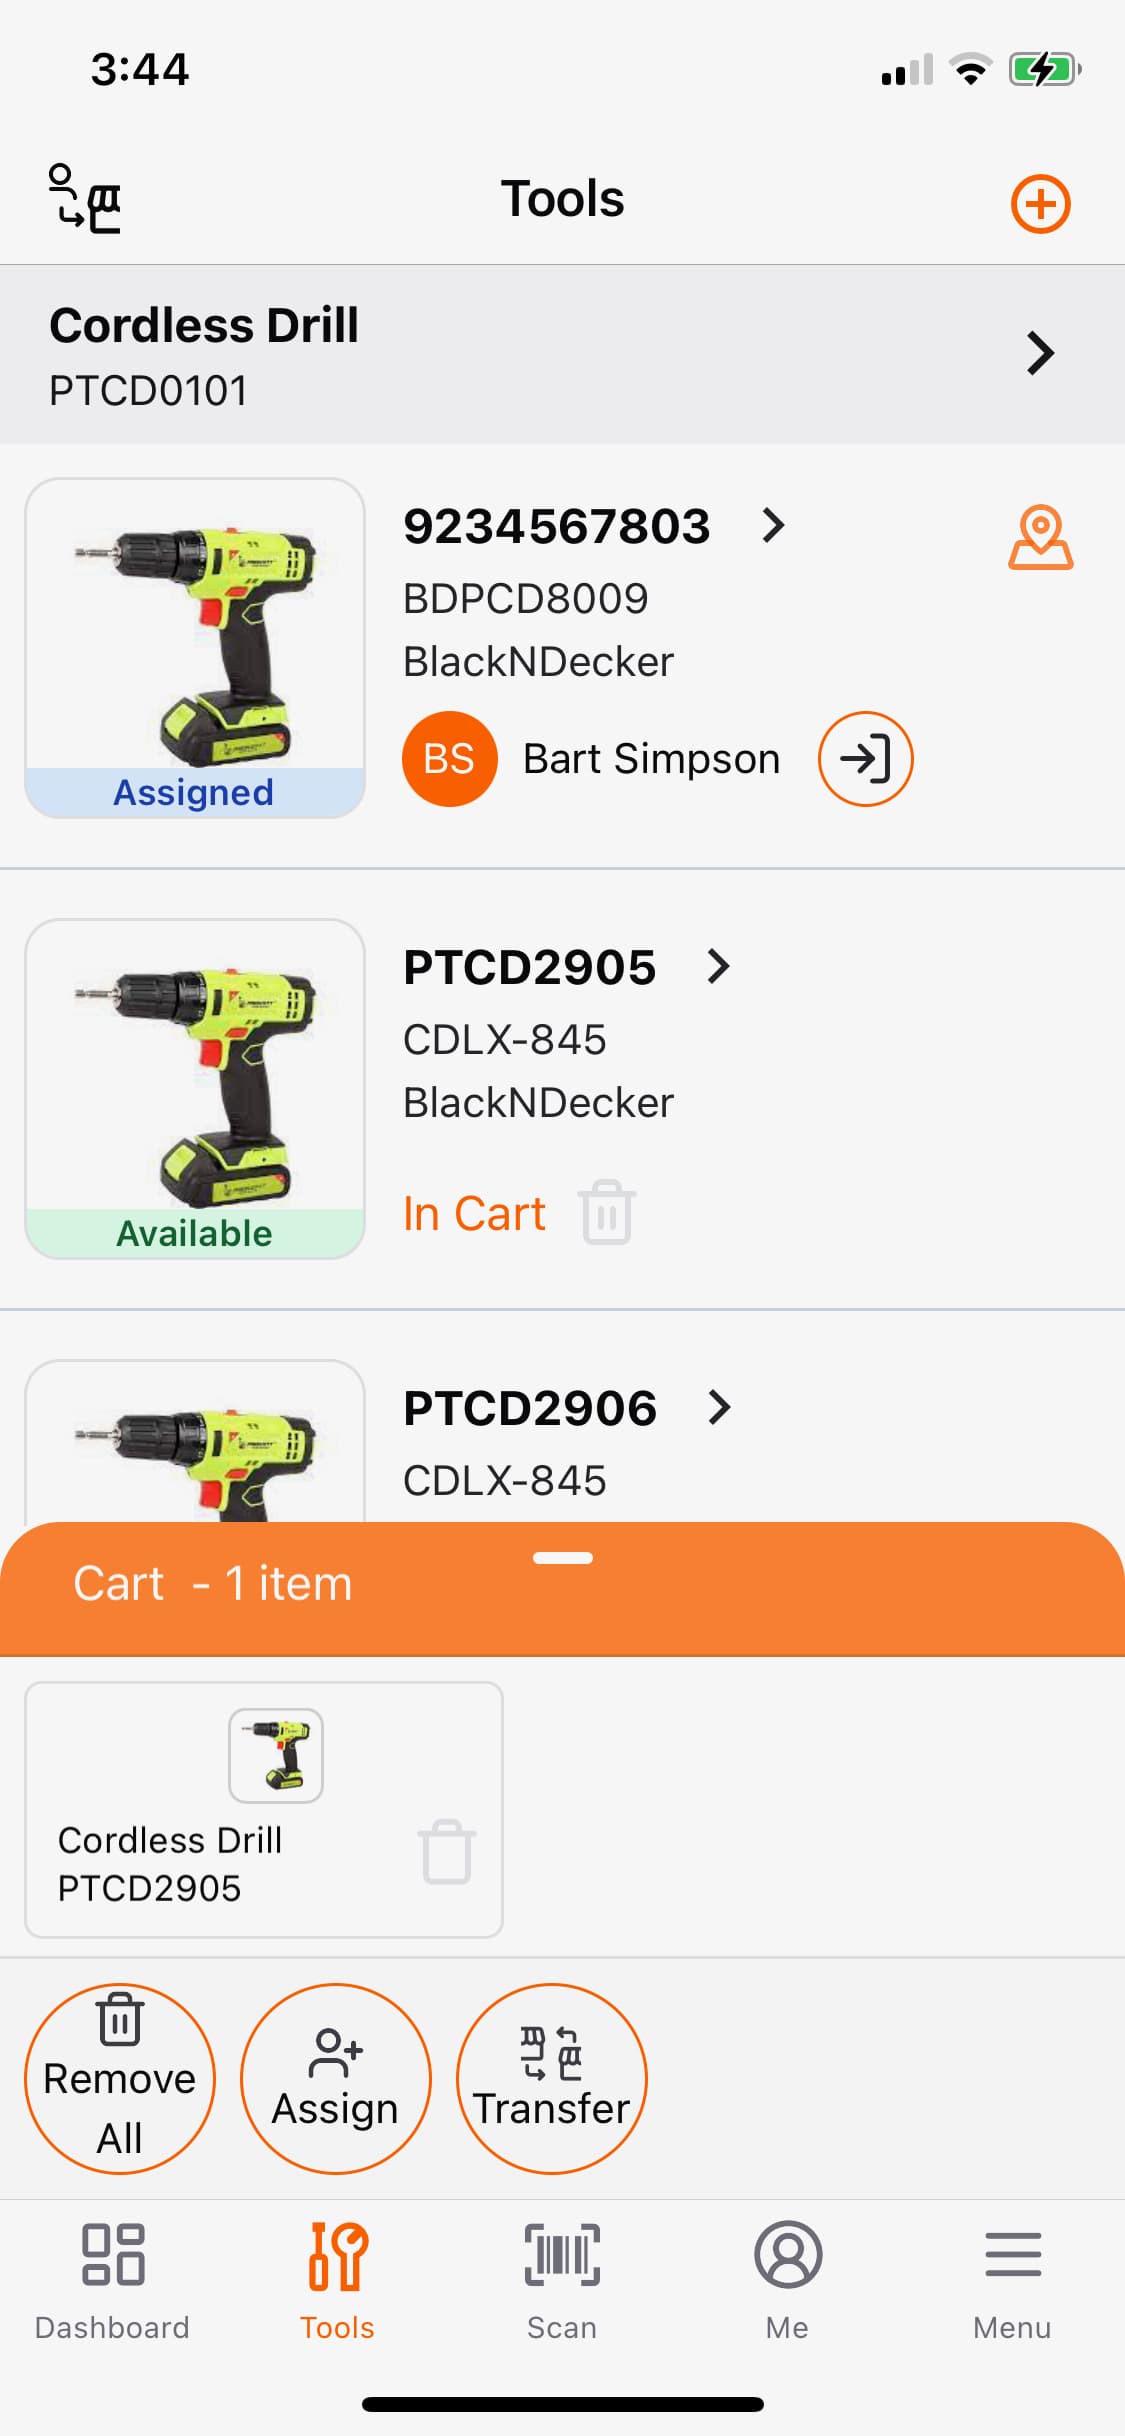
You can quickly take actions like Assign, Reserve, Transfer, Check In, Request, Maintain, Purchase Order on Items all from the Tools tab. Just add desired items to the Cart using Add To Cart and then click the appropriate action button.
Here are some useful resources to help you understand what these actions are:
- Navigate to Tools tab. [shift-t]
- Find Tool and click
Add To Cart, for all tools that need to be transferred - In the Cart, click
Transfer, enter store details and clickTransferto transfer tool to another store.
- Navigate to Tools tab. [shift-t]
- Find tool and click
Add To Cart. (repeat for each required tool) - In the Cart, click
Assign, enter user and clickCheckoutto assign tool custody to user.
- Navigate to Tools tab. [shift-t]
- Find tools to check-in and click
Check In(->]) for each tool you want to check-in. - In the Cart, click
Check In, enter user and clickCheck Into return tools.
AI Copilot
The ToolWorks Copilot is an AI-powered virtual teammate that revolutionizes how you interact with the system. Copilot allows you to manage your tools and equipment through simple, conversational interactions – just as if you are talking to a human colleague.
This means you can communicate with the Copilot using your own words, without needing to learn specific commands or navigate different UI. Instead of your learning a new system to work with, system will adapt and learn as you interact with it.
The Copilot can automate a wide range of tasks, including:
- Requesting tools and equipment
- Need a hammer drill and 2 drill bits
- Need Forklift for 2 day starting day after tomorrow
- Cancel my tool request 21245-08048
- Checking tool availability and status
- Are there any drill bits available?
- What happened to the hammer drill I had requested?
- Transferring tools between locations
- Transfer 10215, 80148 from Warehouse to Job Site 1
- Assigning tools to a user
- Assign 10289, 20743 to [email protected]
- Extend the reservation for 10289 by 3 days
- Check-in tools 10289, 20743
- Adding new users to the system
- Add John Doe ([email protected]) as an Admin and Jane Doe ([email protected]) as a Store Staff.
- Make Jane Doe a Store Manager
- Logging Maintenance done on tools
- Completed Safety Check for 2956355168. I tested its normal operations and ensure its in proper working condition.
- Record tool mileage and hours
- Update mileage for 8234567802 to be 20300
This automation significantly reduces the time and effort required for routine tool management tasks, allowing team members to focus on more critical aspects of their projects.
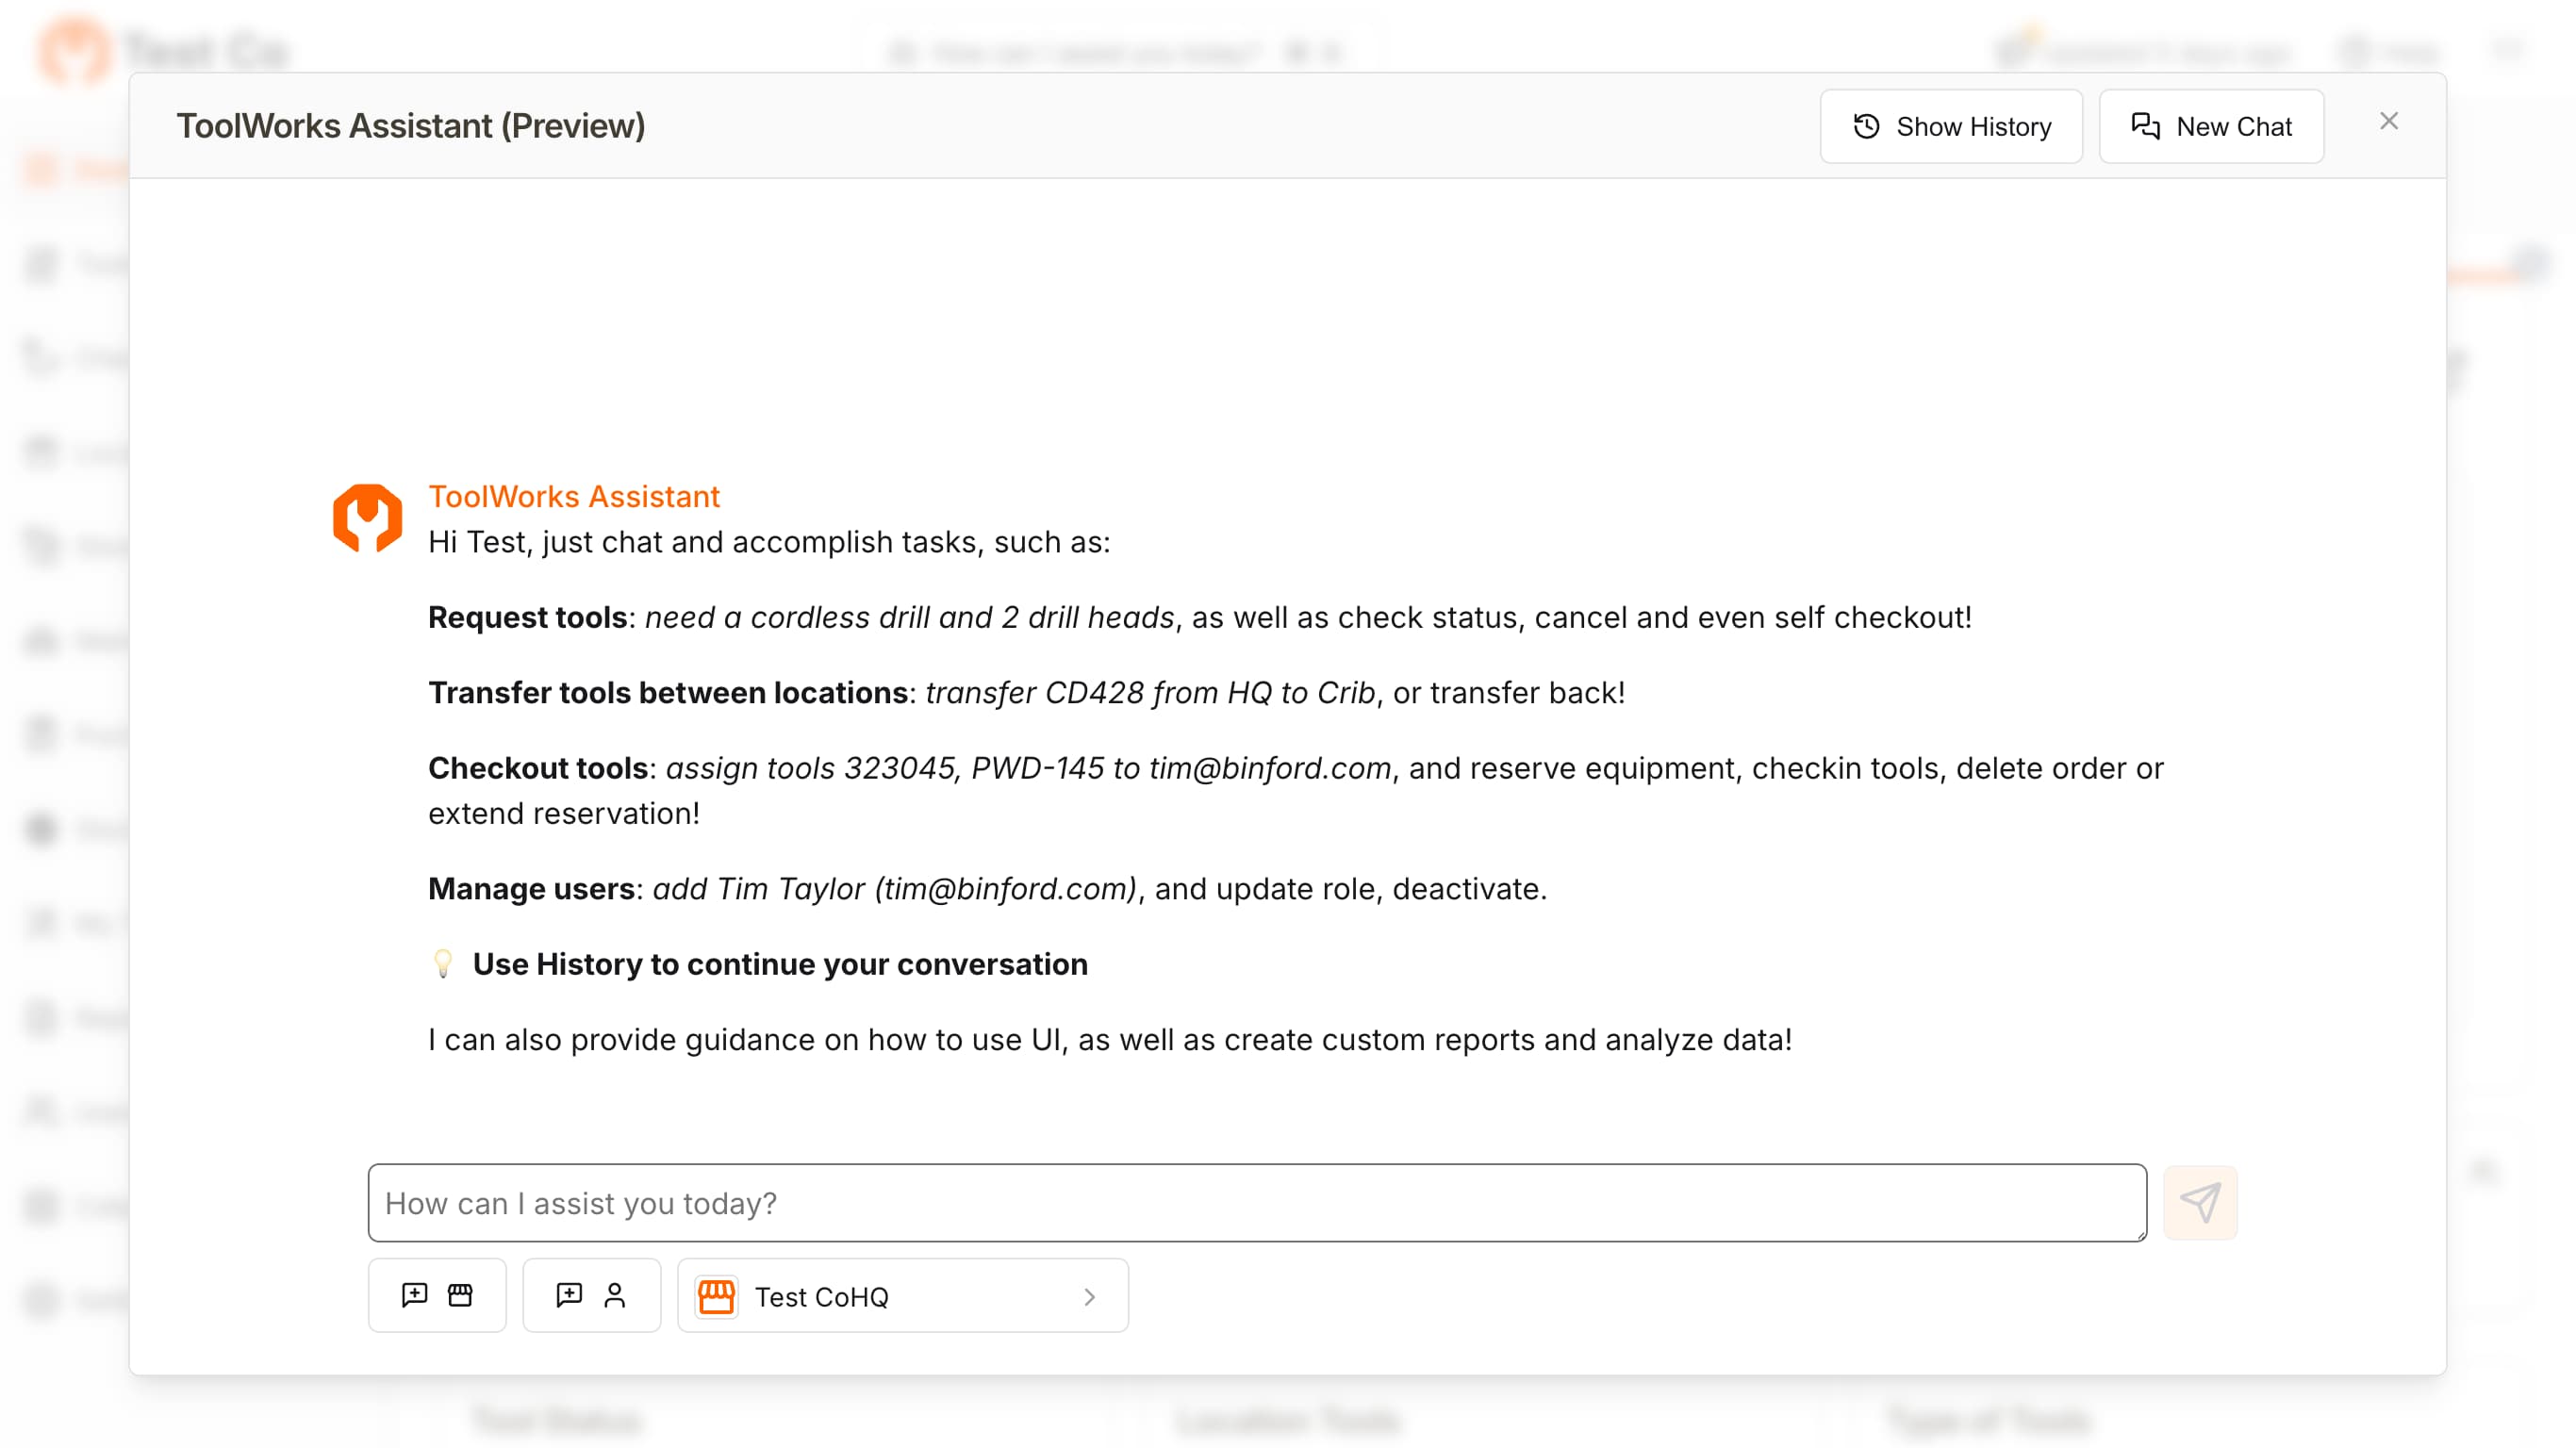
In addition to carrying out common tasks, Copilot can also help answer question related to how to use the system. In fact, Copilot is made up of three agents, Task Agent, Help Agent and Report Agent. The Task Agent is responsible for completing tasks, while the Help Agent provides help assistance and the Report Agent generates custom reports and can do data analysis. They are all integrated and work together as a single unit!
Add Users
User are individuals who can access ToolWorks.
To add a new team member:
- From Users tab, click
Invite User - Enter User Details and modify Roles as required
- Click
Invite, this will send email to user with a login link where they can set their password and login.
There are three types of user roles provided out of the box:
- Admin: are users that have full access to all features of ToolWorks.
- Store Staff: are users that have access to tools and equipments in their assigned store and can checkout tools, fulfill orders, request transfers, etc.
- User: are field personals that can request tools from their assigned store. They can also transfer tools to another user.
There are just the default roles that are pre-defined in the system. You can create more roles and/or change permission of existing roles using Custom Role functionality.Learn More
Location Based Access
Users only have access to tools and equipment from the assigned location/tool store. You can change this by changing the rights for user roles. Navigate to Settings. [shift-ctrl-s] and click Roles to view list of role. Click any of role to see assigned rights.
Learn More
Add Location
Location allows user to setup location hierarchy modeling real world. You can set up parent-child locations, and nest locations so you can track items from a country to a state, city, warehouse, job site, tool crib, all the way down to a single shelf. A location represents place where normally tools are kept and allows company employees to get and return tools. Tool is tracked against a tool location.
To Add a Location:
- From Locations tab [shift-l], click
Create Locationbutton. - Enter Location Details
- Name and Parent Location
- Optionally, enter Location Address
- Upload Location Photo
- Enter custom order number prefix to customize order number generation
- Click
Add Location
Add Categories
Category allows you to categories or group tools and equipment into various groups. Category can have one or more sub categories, allowing for fine tuning of groups.
To Add a Category:
- From Category tab, click
Create Category. - Enter category name. Optionally, enter category code, description and Inventory Type. You can also select an icon or upload a photo.
- Click
Createto create category.
Reports
Reports allows you to view data about various activities in your tool management system. You can view reports by date, time, or by tool type. You can also download reports in any format.
Run Report
- From Reports tab [shift-r], select a report.
- Enter values for various report parameters.
- Click
Viewto run and view the report - Click
Saveto download the report orPrintto print the report.
In addition to pre-defined reports, you can also create custom reports using Report Copilot. Learn More
Report Subscriptions
You can subscribe to reports to receive them in your email.
- From Reports tab [shift-r], select a report that you will like to subscribe to.
- Click
Viewto run and verify the report. Change parameters as needed. - Click
Subscribeto subscribe to the report. - Enter email addresses, how often and when you want to receive the report, and click
Subscribeto subscribe. - Back on report page, you will see
Subscribed, indicating that report is subscribed to. You can hover over theSubscribedbutton to see the subscription details.
Maintenance
Plan, schedule and carry out detailed maintenance work orders. You can quickly setup maintenance for any tool directly from the Tools tab.
- Navigate to the Tools tab. [shift-t]
- Locate items that need maintenance and click
Add To Cart. - In the Cart, Click
Maintainto create maintenance order and enter the details.
- Select Type of Maintenance
- Enter Start and End dates
- Assign User that will perform the service (optional)
- Enter notes for maintenance personnel (optional)
- Click
Scheduleto schedule maintenance order. Alternatively, clickCheck Outto assign equipment custody to user and start the work order.
Maintenance Log
You can quickly see services performed on any items right from the Tools tab. Just locate the tool and click to view details.
Upcoming Maintenance Notification
ToolWorks will automatically send out email notification about upcoming maintenance service request to assigned service personal as well to user that created the request. Two notification are sent out, first one is about 1 week before start of maintenance request (you can configure how many days in advance this is sent out) and one the week of Maintenance.
In addition to auto email notifications, system will also send out message notifications (mobile app, web app) to all relevant users when actions like Service Complete, Maintenance Done etc.
Mobile App
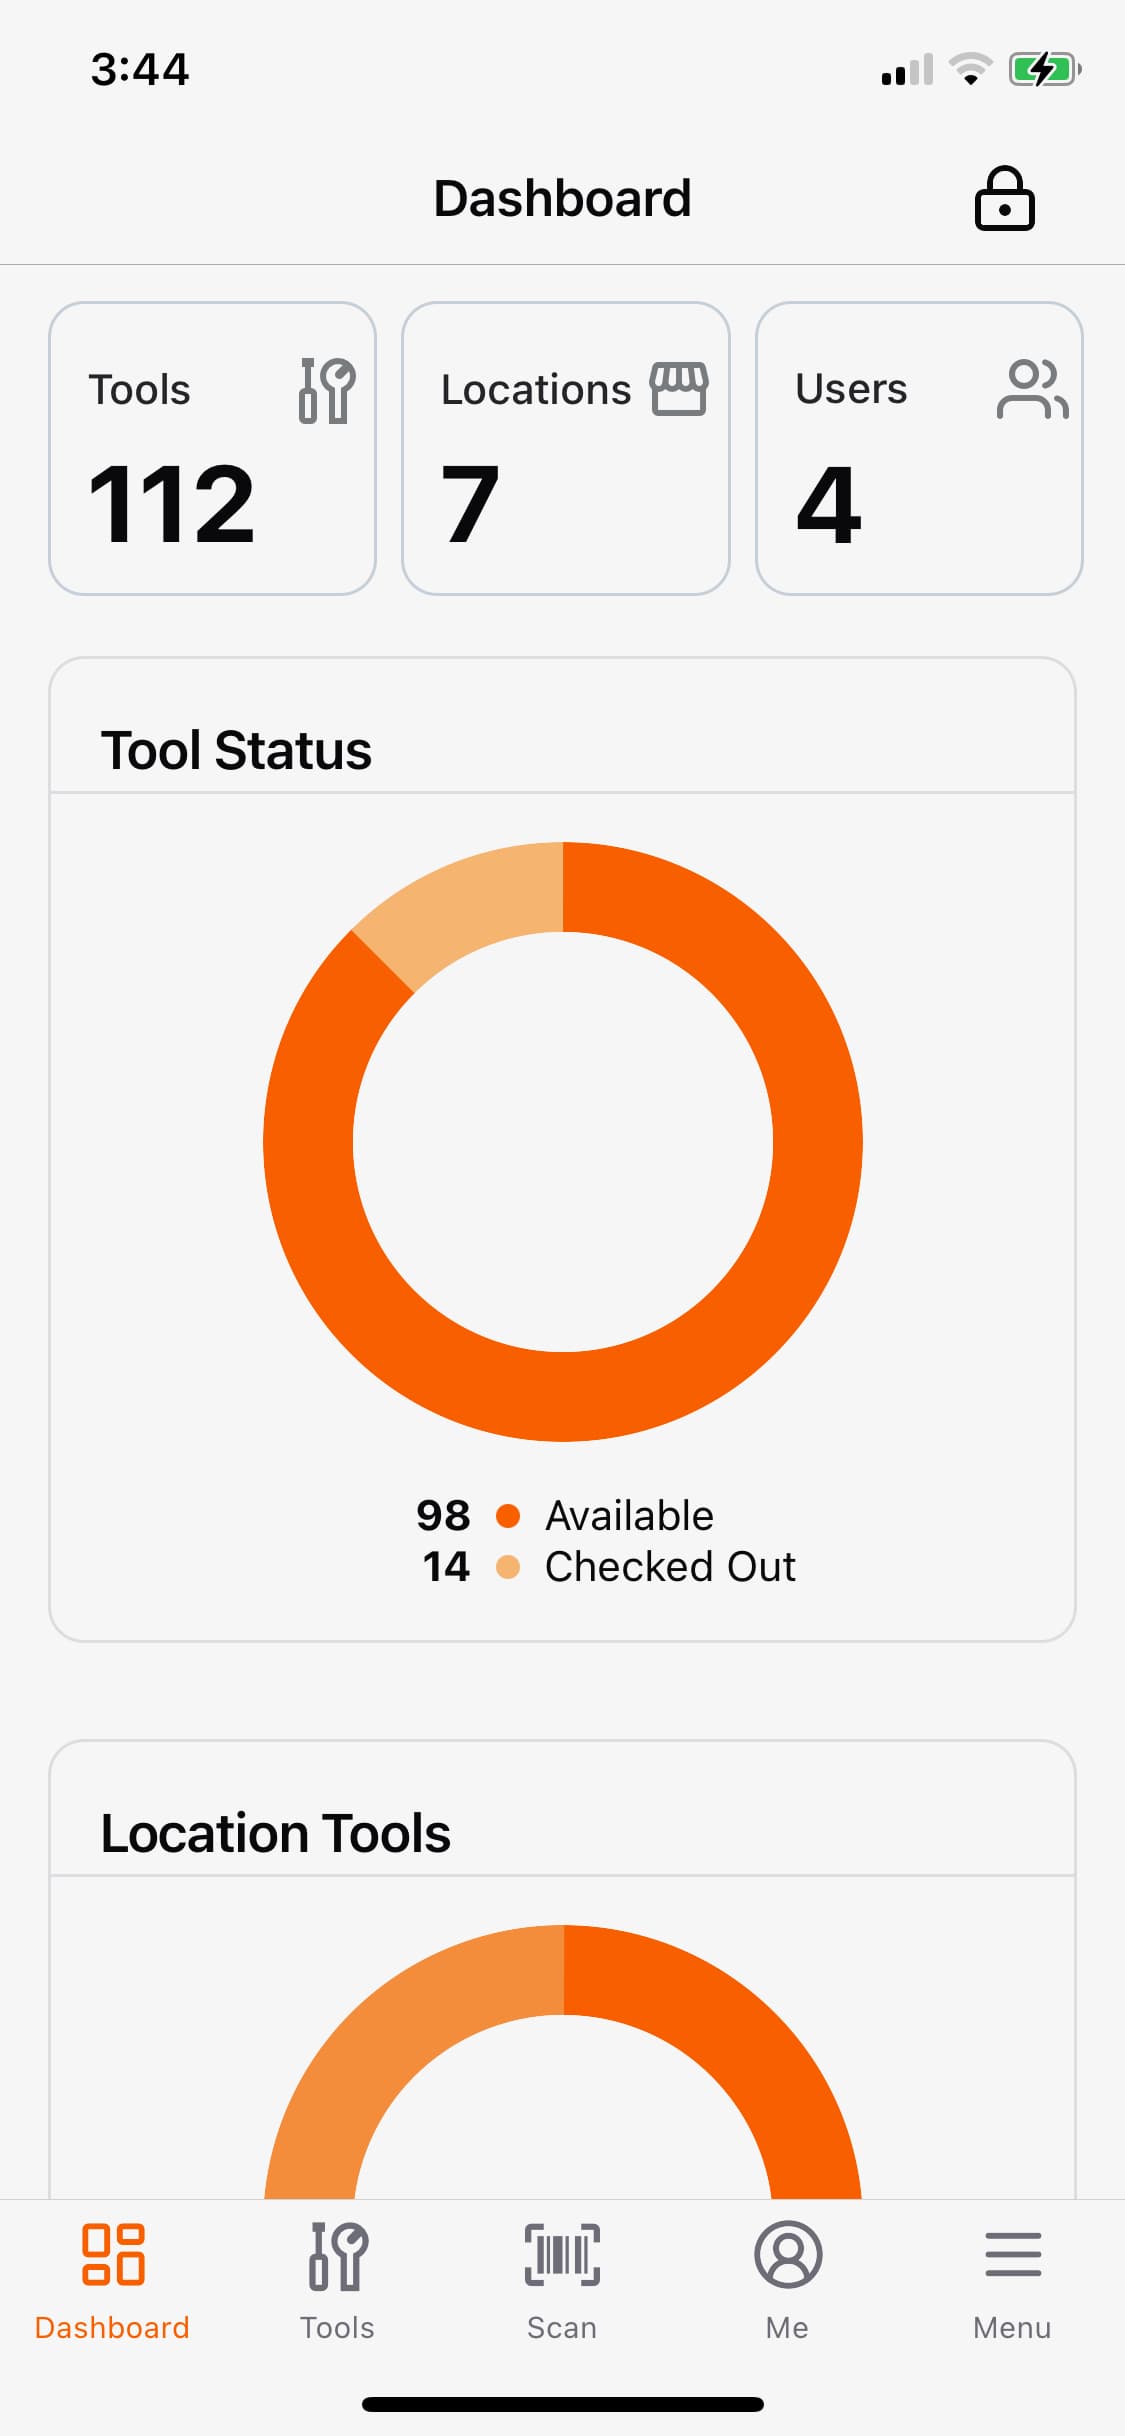
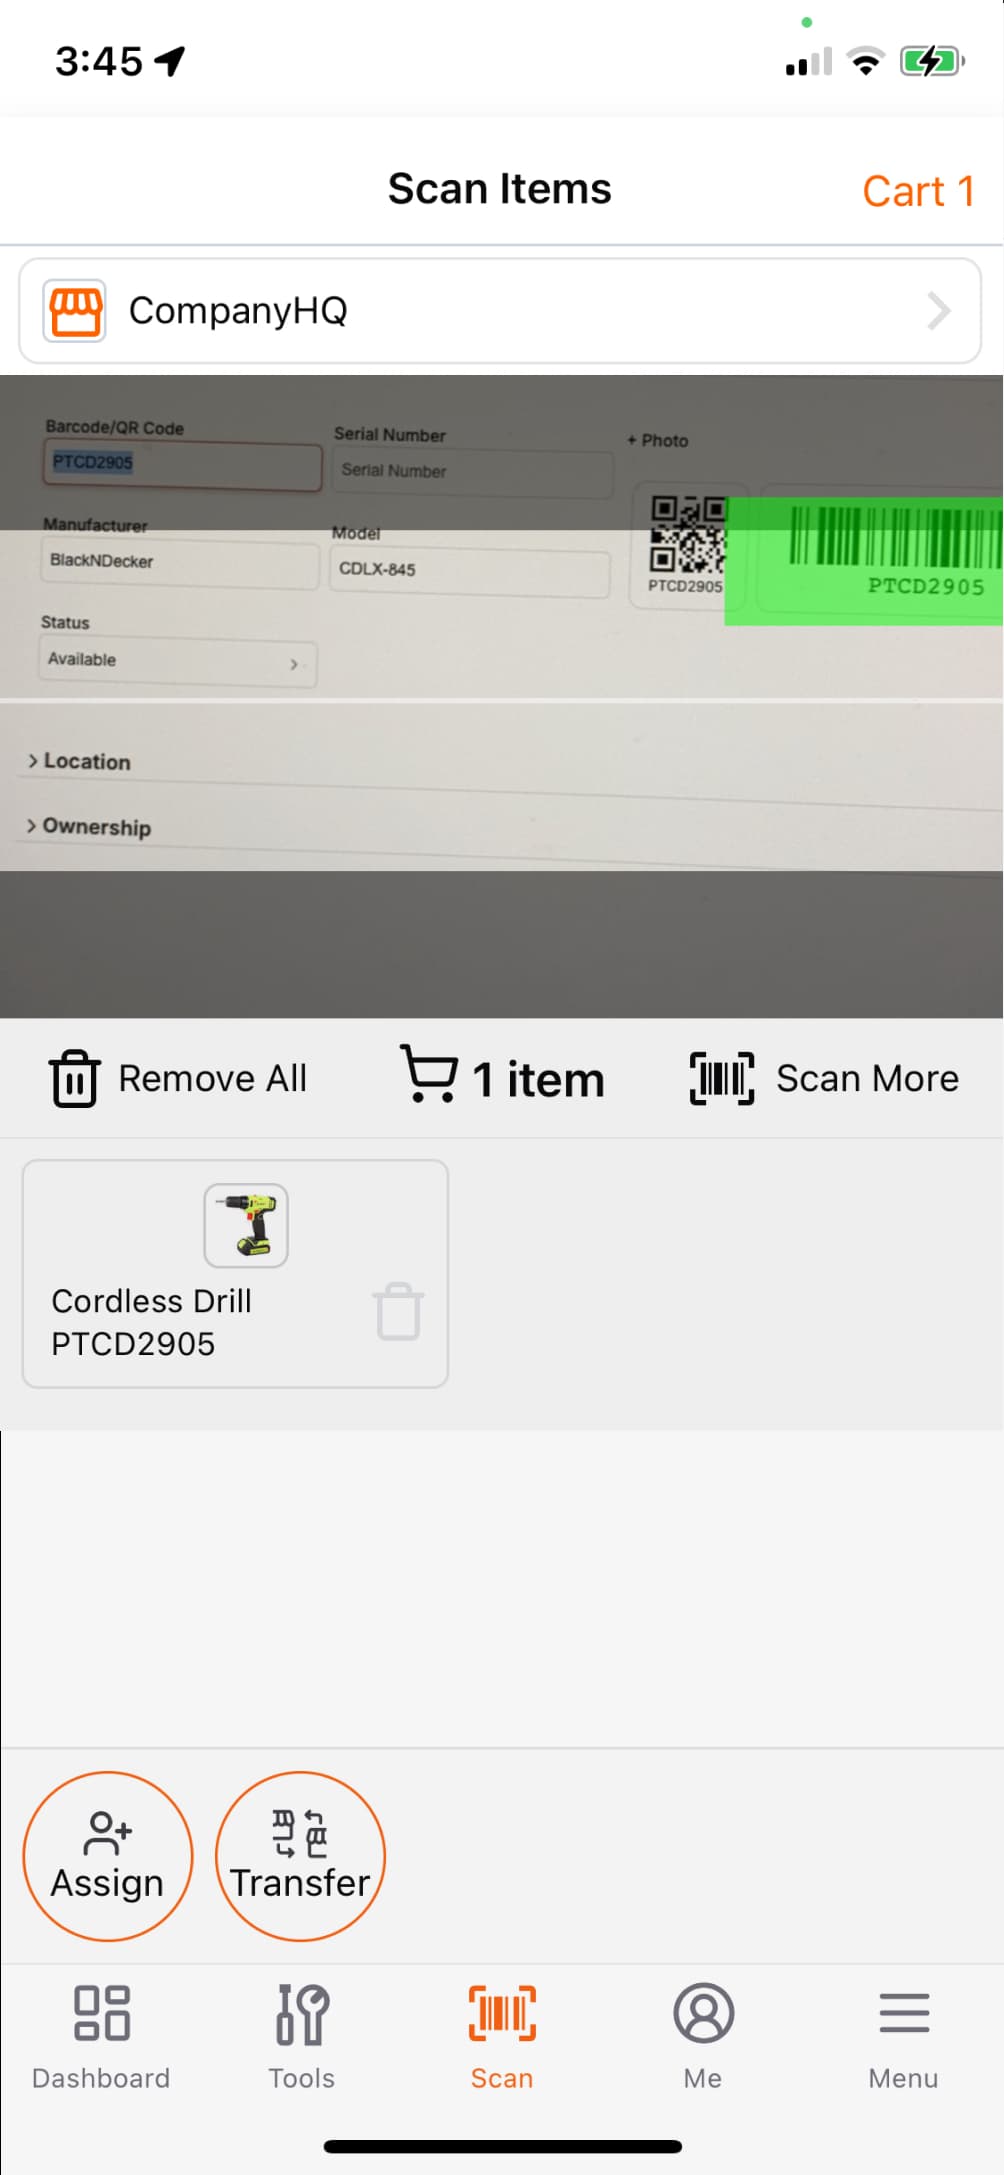
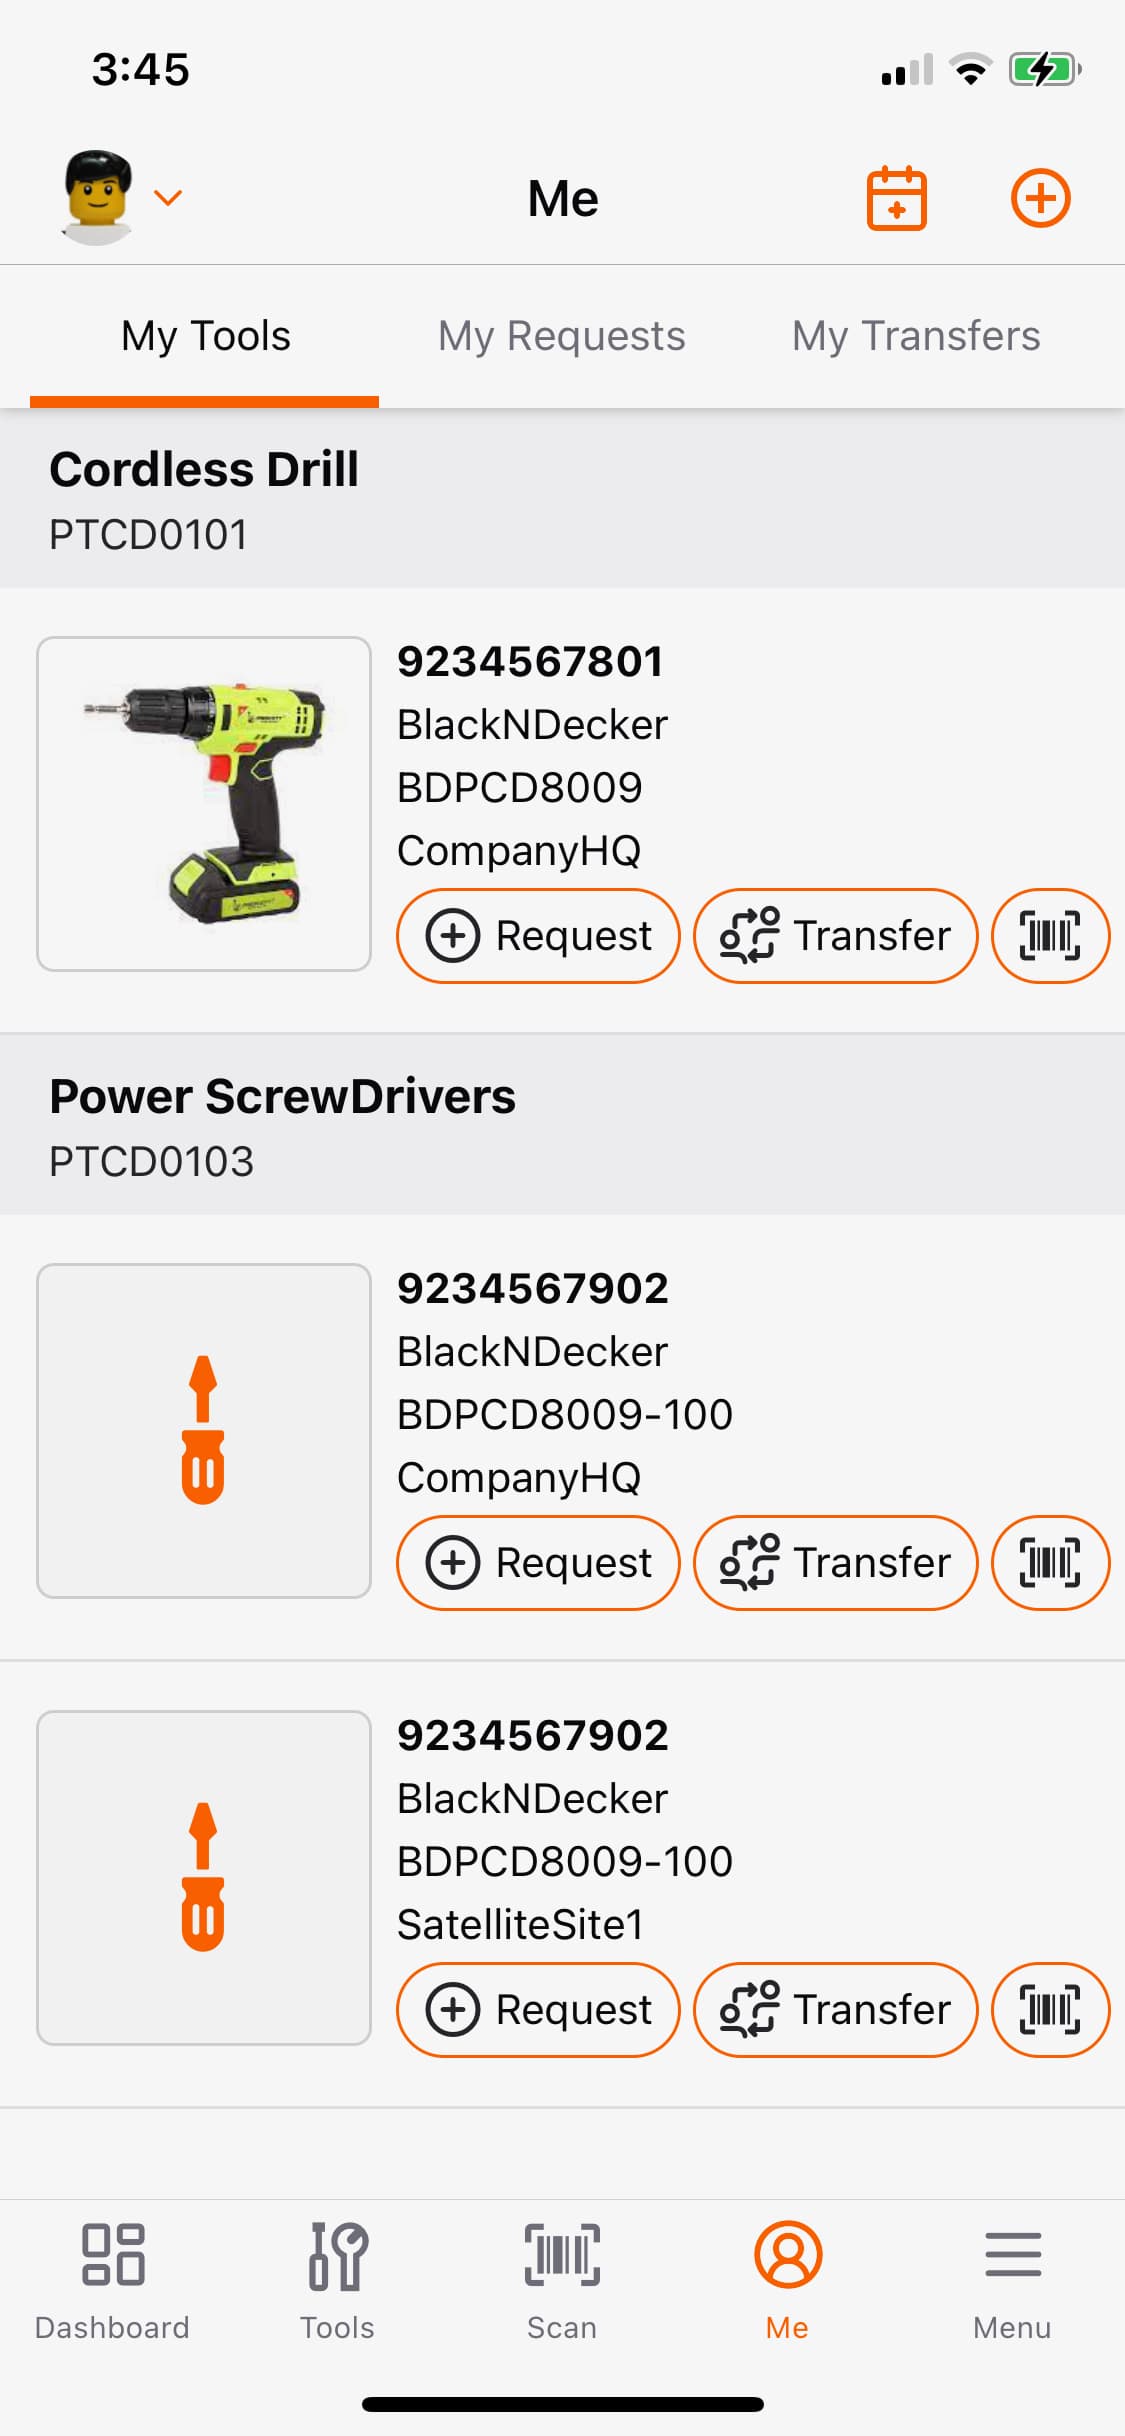
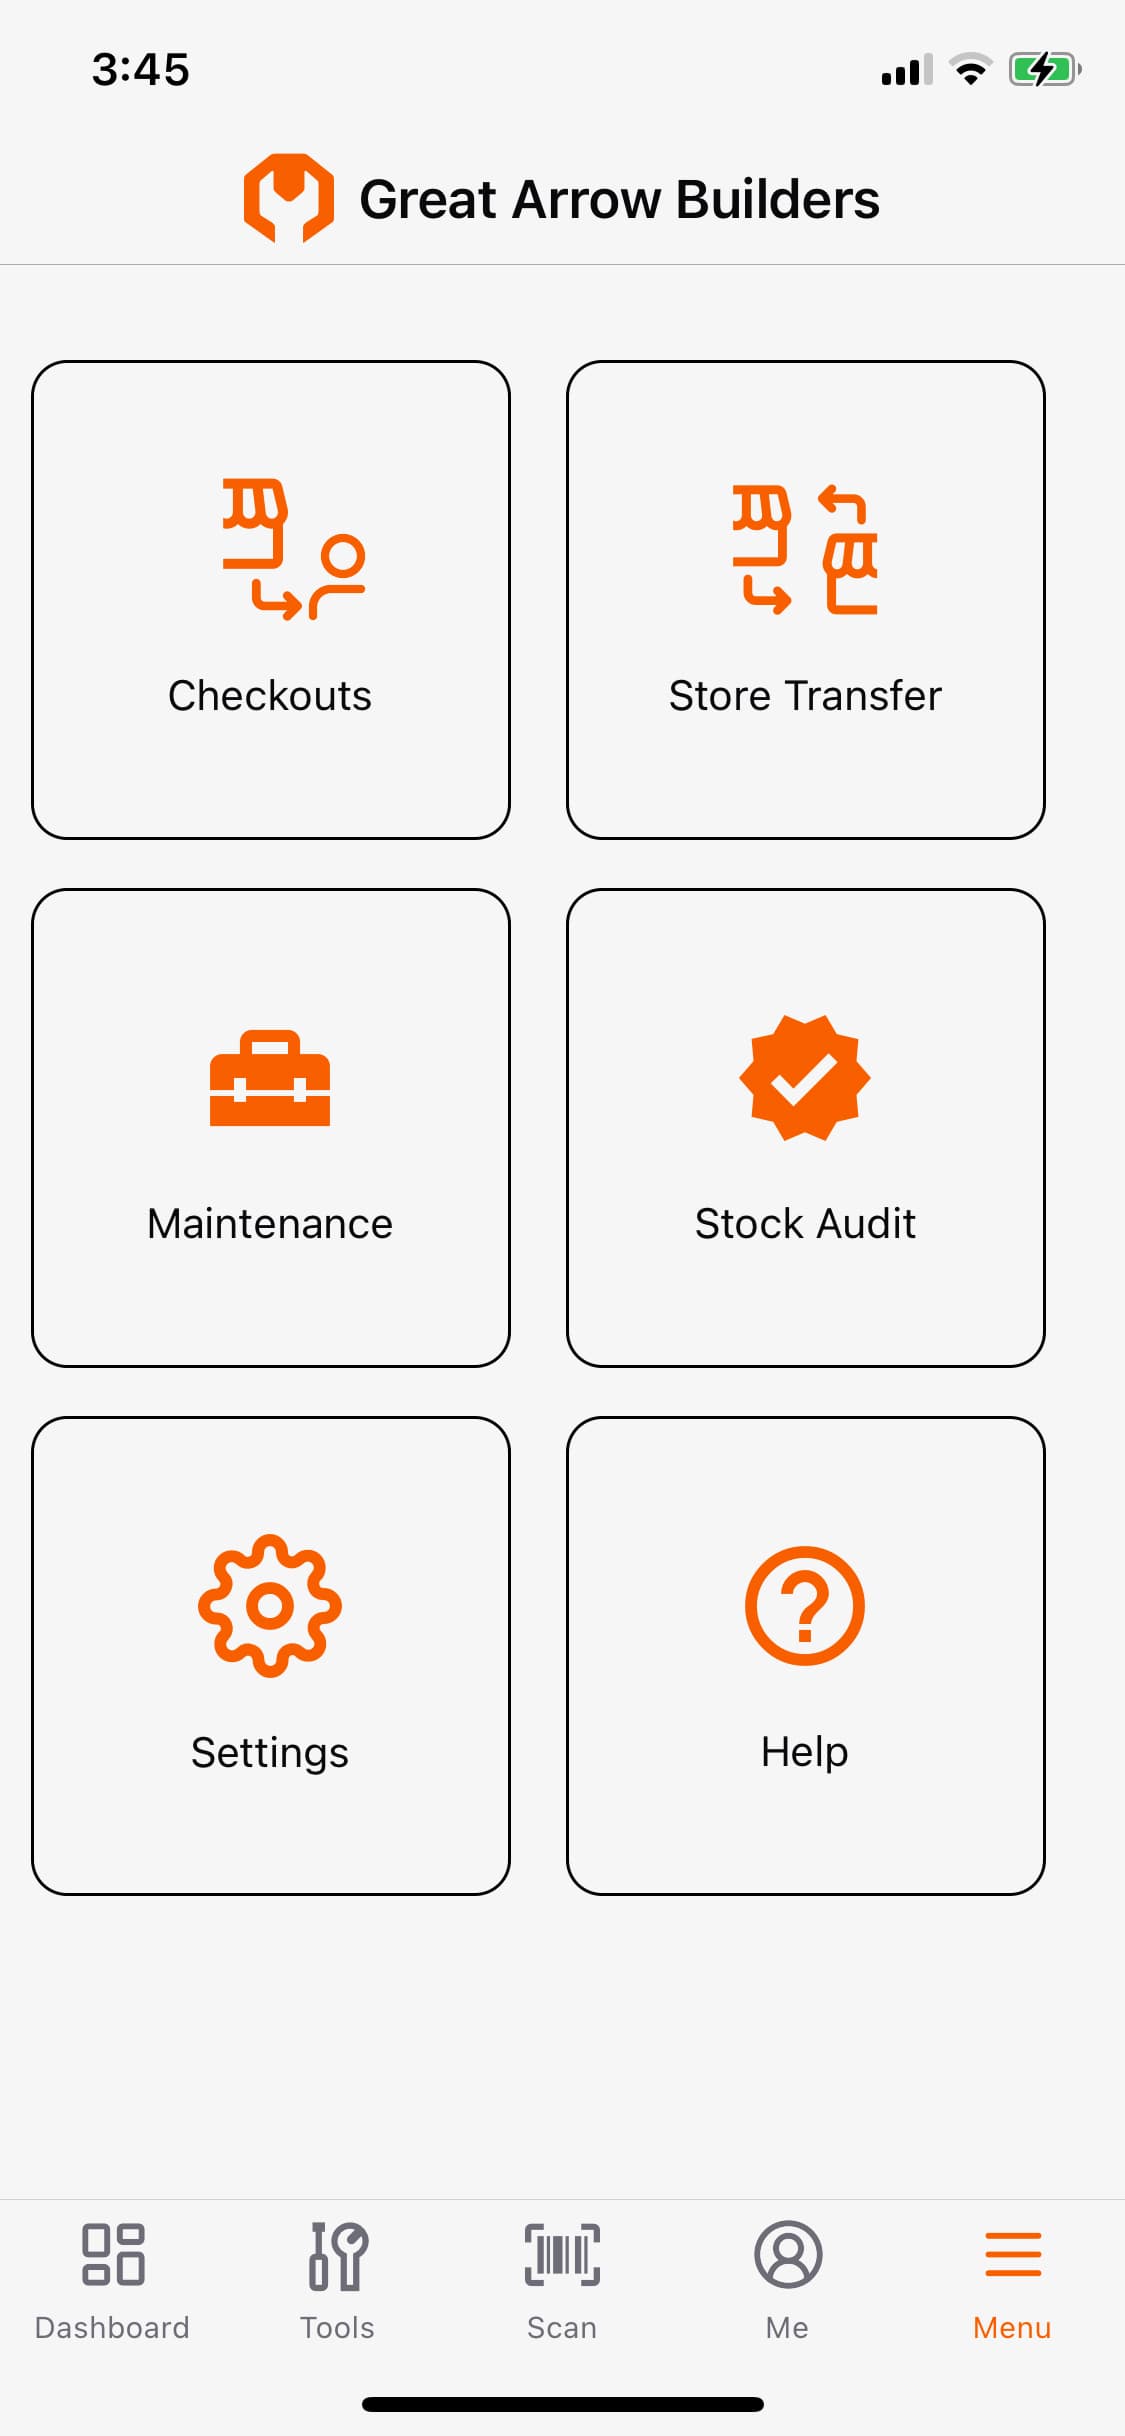
Take actions on the go with ToolWorks mobile app. Mobile App enables field users to easily request tools and reserve equipment from ToolWorks. It also allows Store Staff to get notifications about tool and equipment requests, manage assignments, and track usage. Scanner with continuous scanning can be used for checkout, check-in, transfer, maintenance and more.
Explore Additional Features
- Purchase Order
- Stock Audit
- Asset Depreciation
- Checkouts
- Store Transfers
- Field Requisition
- Field Transfer